- Known for
- Co-commander alongside William Wallace at Stirling Bridge, who first liberated northern Scotland from English occupation through guerrilla warfare
- Fatal flaw
- He fought at the front when Scotland needed him alive at the back, and one stray arrow at Stirling Bridge erased a leader the country could not replace
The Story
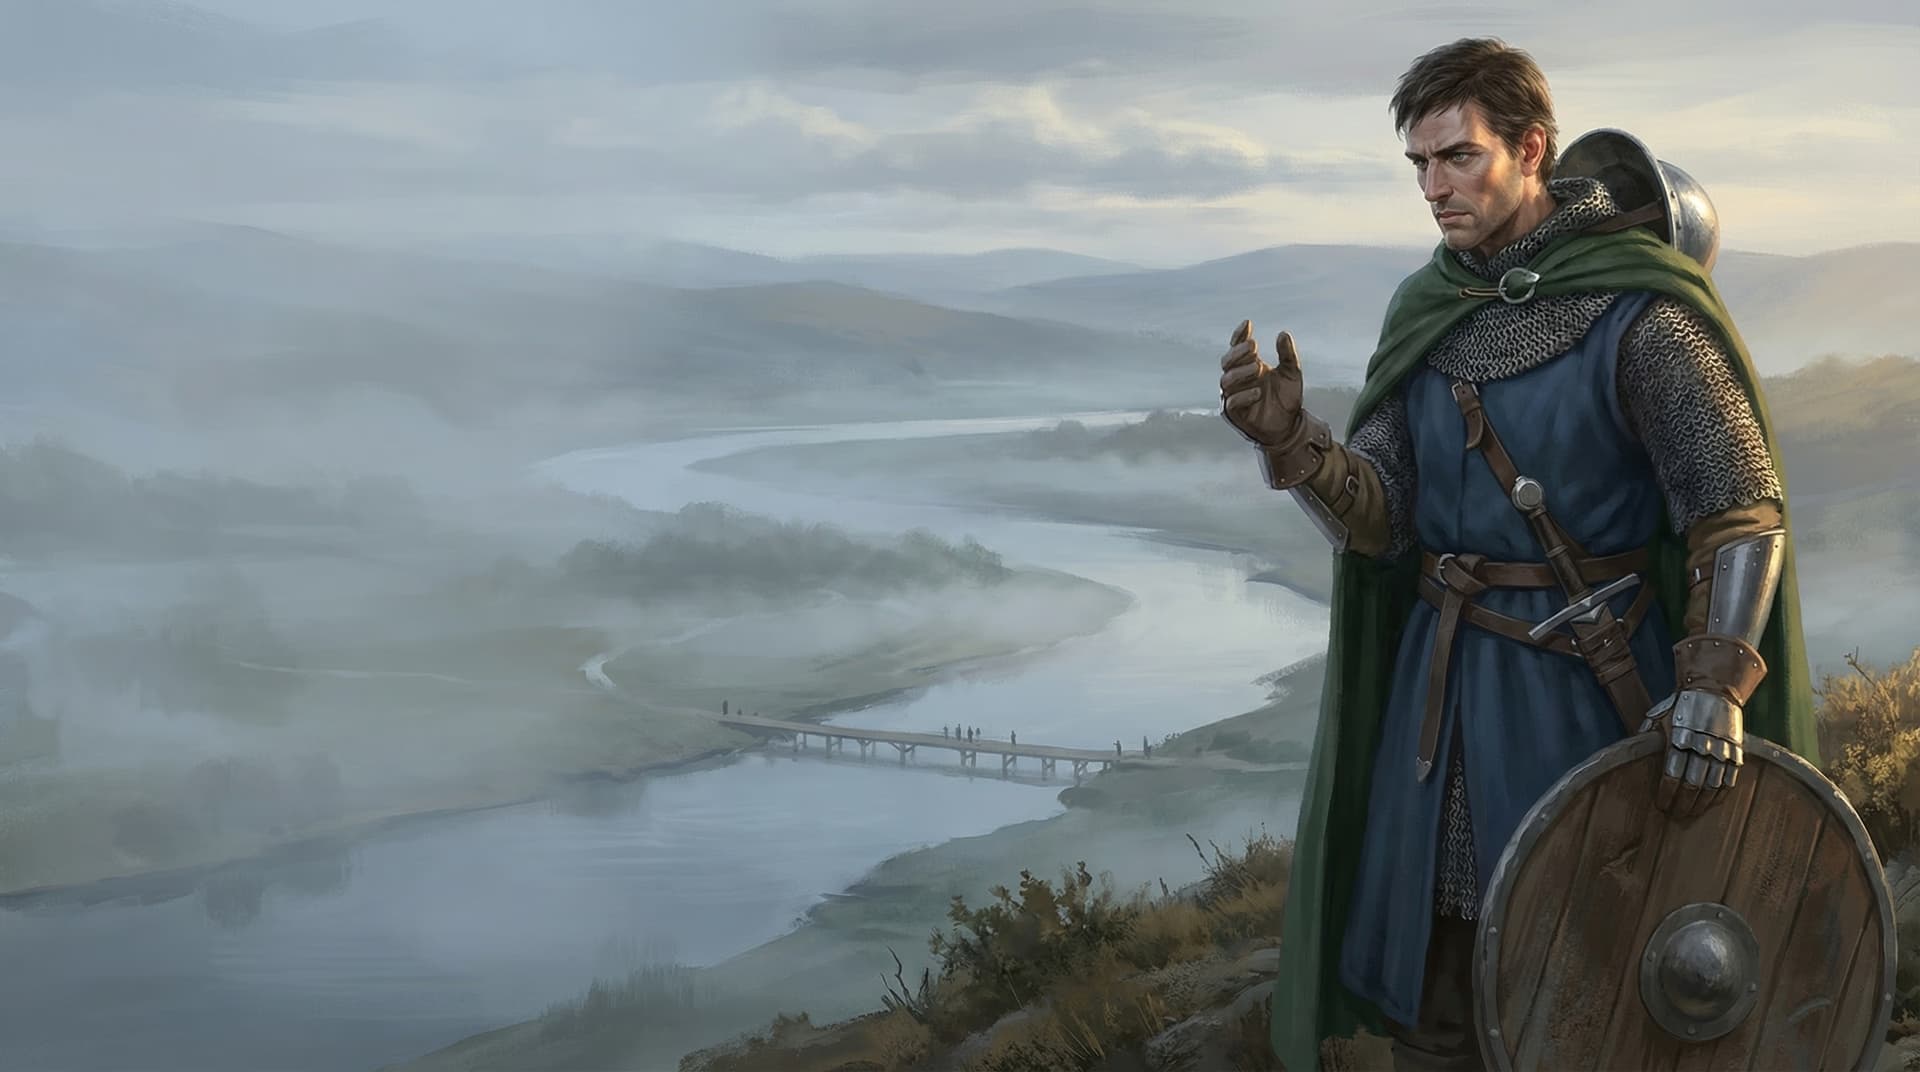
September 11th, 1297. The wooden bridge at Stirling. A man in his late twenties stands on rising ground above the River Forth, watching English heavy cavalry funnel two abreast across a bridge too narrow for the army it carries.
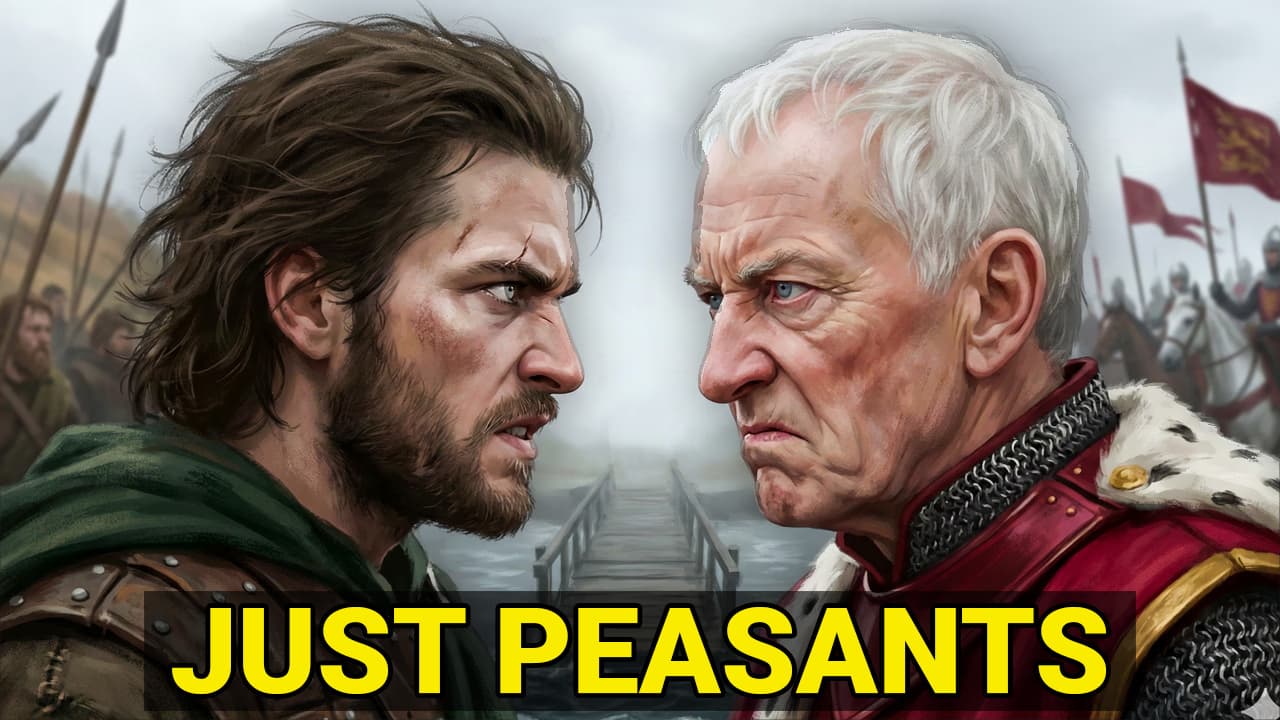
Andrew Moray has been fighting for four months. He has taken castles, ambushed English constables, and driven Edward I's garrisons out of every stronghold north of the Tay. Now he stands beside a commoner named William Wallace, commanding an army of spearmen against the most powerful military in Europe. The plan is his. Let them cross. Let enough of them cross that they cannot retreat. Then hit them before the rest can follow.
It works. The schiltrons sweep down from Abbey Craig and slam into the English vanguard on the riverbank. The heavy cavalry cannot charge uphill into massed spears. The infantry cannot retreat across a bridge choked with their own reinforcements. Hugh de Cressingham, Edward's tax collector and the most hated Englishman in Scotland, dies in the crush. The English treasurer's skin will later be stripped from his corpse and cut into souvenirs.
But somewhere in the fighting, an arrow finds Andrew Moray. He is carried from the field alive. His seal still appears on documents through early November. Then silence. Scotland's most effective military commander simply vanishes from the record, dead of his wounds at roughly twenty-seven years old. Within months, Wallace is fighting alone, and the aristocracy that Moray could have held together begins to fracture. The rebellion survives. The man who started it does not.
History gave William Wallace a monument, a Hollywood film, and a place in the national memory. Andrew Moray got a footnote. This is his story.
Personality & Motivations
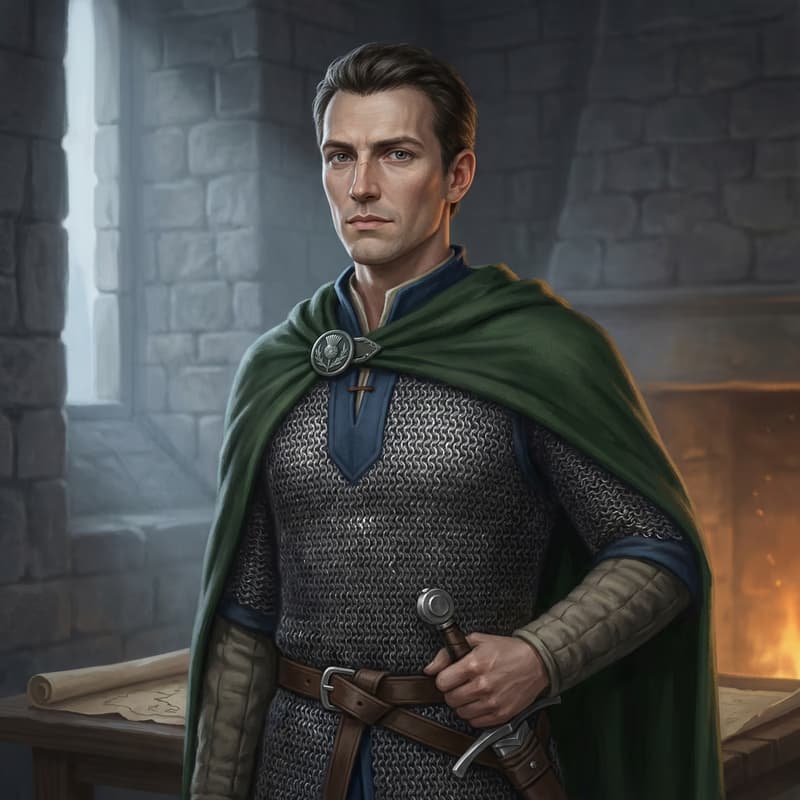
Moray was not a peasant revolutionary. He was the eldest son of Sir Andrew Moray of Petty, one of the most powerful barons in northern Scotland, whose family controlled lordships stretching from the Black Isle to Banffshire. His father served as Justiciar of Scotia. His stepmother was a Comyn, connecting him by marriage to King John Balliol's own family. When Moray raised his banner at Avoch Castle in May 1297, he did it not as an outsider storming the gates, but as a man reclaiming what his family had built over generations.
What set him apart was method. Where Wallace inspired through fury and personal magnetism, Moray calculated. He chose guerrilla tactics over pitched battles, hitting English garrisons with fast raids rather than meeting armored knights in open field. He recruited burgesses from Inverness, not just fighting men from the countryside. He targeted supply lines and isolated castles, methodically dismantling English control across the north rather than gambling everything on a single confrontation. His campaign in the Highlands was more strategically devastating to Edward's occupation than anything Wallace achieved in the south.
He was also, crucially, a nobleman who could talk to other noblemen. Wallace's great weakness was that the Scottish aristocracy saw him as a commoner giving orders above his station. Moray carried the name, the bloodline, and the political connections to hold a coalition of lords together. When he died, that bridge between the common soldiers and the noble families died with him. It was perhaps the single greatest loss Scotland suffered in the entire war.
What Most People Get Wrong
The popular image of the Scottish Wars of Independence puts William Wallace at the center of everything, with Moray as a minor supporting character who happened to show up at Stirling Bridge. The reality is closer to the opposite. Moray launched his rebellion in May 1297, weeks before Wallace's most famous actions in the south. By the time the two men met at Dundee in late summer, Moray had already liberated virtually the entire north of Scotland. He had captured Inverness, Elgin, Banff, and Duffus castles. He had ambushed English commanders on the road. He had built an army from scratch.
At Stirling Bridge itself, most historians believe the battle plan was Moray's. The tactical sophistication of the engagement, letting the English cross a narrow bridge in small numbers before attacking with massed spearmen, bears the hallmarks of a trained military mind, not a guerrilla fighter. One modern assessment puts it plainly: if Wallace was the heart of the resistance, Moray was its mind. The only major battle Wallace ever won was the one where Moray stood beside him in equal command.
Key Moments
Dunbar, April 27th, 1296. The war began with disaster. Edward I's army crushed the Scottish host at Dunbar, and Moray was captured alongside his father and uncle. His father went to the Tower of London, where he would die in April 1298. Moray went to Chester Castle. Edward offered to release the elder Moray to fight on the continent if his son would surrender himself to the Tower as a replacement hostage. Andrew refused. Sometime that winter, he escaped from Chester and made the long journey north to his family's lands on the Black Isle. The man who walked out of an English prison would burn every English garrison in the Highlands within six months.
Avoch, May 1297. Standing at his father's castle on the Black Isle, overlooking the Moray Firth, Andrew raised the standard of King John Balliol and declared open rebellion against English rule. He was perhaps twenty-seven years old. Alexander Pilche, a burgess of Inverness, joined him as his first lieutenant. The rising started small, a young nobleman and a handful of townsmen against the full weight of English occupation. It would not stay small for long.
The Ambush near Inverness, May 25th, 1297. Sir William fitz Warin, the English constable of Urquhart Castle, was returning from a meeting at Inverness when Moray's men hit him on the road a few miles south of the town. Fitz Warin escaped back to Urquhart, but the message was clear: the English could no longer move safely through their own territory. Moray followed up by besieging Urquhart itself, launching a night assault against the castle walls. The attack failed, but it did not matter. He bypassed the fortress and took Inverness, Elgin, Banff, and Duffus instead. By midsummer, English control north of the Tay had effectively ceased to exist.
Dundee, August 1297. Moray marched south to besiege Dundee and met William Wallace for the first time. Two men who had fought separate wars recognized what each one brought. Moray had noble blood, siege experience, and a proven record of liberating territory. Wallace had a growing army of common men who fought because they had nothing left to lose. They merged their forces and marched together toward Stirling. It was the most consequential handshake in Scottish military history.
Stirling Bridge, September 11th, 1297. John de Warenne, Earl of Surrey, commanded roughly ten thousand English troops on the south bank of the Forth. Moray and Wallace held the high ground at Abbey Craig with perhaps six thousand spearmen. The English had to cross a narrow wooden bridge that allowed only two horsemen abreast. Moray waited. He let the English vanguard cross, perhaps two thousand men, until they were packed onto the soft ground of the river loop with no room to maneuver. Then the schiltrons charged downhill. The English cavalry could not form up. The infantry could not retreat. Cressingham was killed. Warenne fled south so fast he did not stop until he reached Berwick. It was the most complete Scottish victory of the war. And somewhere in the fighting, a stray arrow struck Andrew Moray and ended everything.
The Detail History Forgot
Andrew Moray never knew he had a son. His widow, whose name history has not preserved, gave birth on May 25th, 1298, eight months after Stirling Bridge and roughly six months after Moray's death. The boy was named Andrew, like his father and grandfather before him.
That posthumous son grew up to become one of the most important figures in the Second Scottish War of Independence. He was twice chosen as Guardian of Scotland, first in 1332 and again in 1335, defending the kingdom his father had helped liberate nearly forty years earlier. He inherited not just the Murray lands but the combined lordships of Avoch, Boharm, Petty, and Bothwell, uniting the northern and southern branches of his family into one of Scotland's great estates. He held the guardianship until his own death in 1338, carrying the title his father had shared with Wallace for barely two months. The son completed what the father never lived to see.
The Downfall
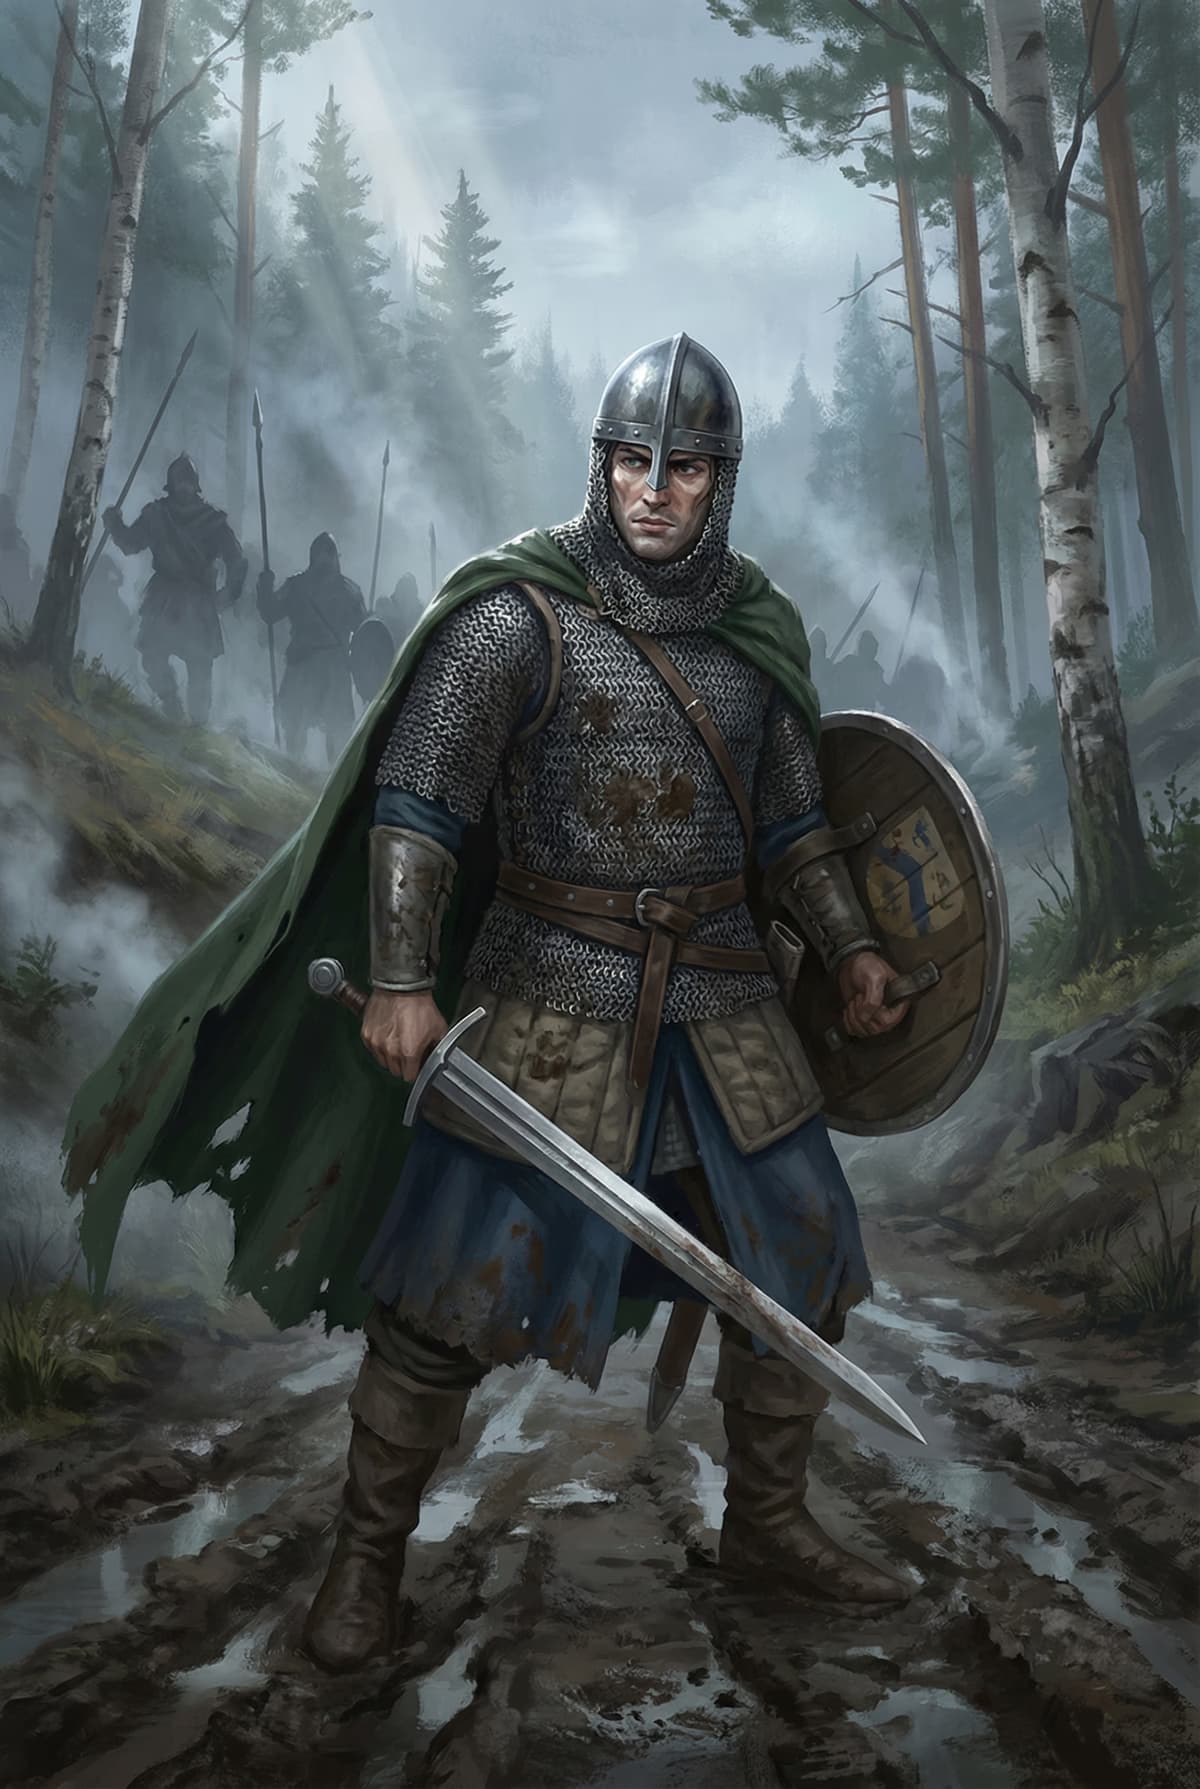
Moray's fatal flaw was not recklessness, though the arrow that killed him suggests he fought closer to the front than a commander should. It was something simpler and harder to prevent: he was irreplaceable, and he put himself in a position where replacement became necessary.
He was the only man in Scotland who combined noble birth, military brilliance, and the willingness to fight. Wallace had the fighting spirit but not the bloodline. The great lords had the bloodline but not the stomach for rebellion. Moray had both, and he spent them both on a single September afternoon. The arrow that struck him at Stirling Bridge did not just kill one man. It killed the possibility of a unified Scottish command that could hold together through the years of grinding war that followed.
After Moray's death, his seal still appeared alongside Wallace's on letters to the Hanseatic cities of Lubeck and Hamburg through November 1297, announcing Scotland's liberation and inviting trade. Whether Moray was still alive when those letters were sealed, or whether Wallace used their joint seal to preserve the fiction of shared command, remains one of the small mysteries of the war. What is certain is that by winter, Wallace governed alone as sole Guardian of Scotland, a commoner commanding earls, with no nobleman of Moray's stature willing to stand beside him. Within a year, the aristocracy abandoned him at Falkirk. Within seven years, he was captured, dragged to London, and executed. The man who might have held them all together was already in the ground.
Frequently Asked Questions
Yes. Andrew Moray, also known as Andrew de Moray or Andrew Murray, was a real Scottish nobleman who lived from around 1270 to 1297. He is documented in contemporary English administrative records, Scottish chronicles, and a surviving letter to the cities of Lubeck and Hamburg dated October 11th, 1297, which bears his seal alongside William Wallace's.
He was mortally wounded at the Battle of Stirling Bridge on September 11th, 1297, likely struck by a stray arrow during the fighting. He survived the battle itself but died of his injuries sometime in late 1297, probably in November. His seal appears on documents through November 7th, 1297, after which he disappears from the historical record entirely. The exact date and place of his death are unknown.
Several factors explain it. Wallace survived Stirling Bridge and went on to serve as sole Guardian of Scotland, keeping his name in the political record for years. Moray died within weeks of their greatest shared victory. In the late 15th century, the poet Blind Harry wrote an 11,000-line epic poem about Wallace that became one of the most popular works in Scottish literature, cementing Wallace's place in national mythology. No one wrote an equivalent poem for Moray. Modern recognition has grown, but centuries of literary tradition gave Wallace an insurmountable head start.
He was co-commander of the Scottish army alongside William Wallace, and most historians believe the battle plan was primarily his. The tactical sophistication of the engagement, using a narrow bridge as a chokepoint to neutralize English numerical and cavalry advantages, reflects the training of a nobleman schooled in military strategy. Contemporary sources list Moray first in the joint command, suggesting he may have been considered the senior partner.
During his northern campaign from May to August 1297, Moray captured the English-held castles of Inverness, Elgin, Banff, and Duffus. He also besieged Urquhart Castle on Loch Ness, launching a failed night assault before bypassing it to strike softer targets. By midsummer, he had effectively driven English authority out of Scotland north of the River Tay.
The exact method of his escape is unknown. He was imprisoned at Chester Castle after being captured at the Battle of Dunbar in April 1296, and he managed to escape sometime in the winter of 1296 to 1297. Some historians suggest he may have had help from sympathizers. By May 1297, he had returned to his family's lands at Avoch on the Black Isle, roughly four hundred miles north of Chester, and immediately began organizing armed resistance.
The Murrays were one of the most powerful baronial families in northern Scotland. Originally of Flemish descent, they settled in Moray during the reign of King David I. Andrew's father, Sir Andrew Moray of Petty, served as Justiciar of Scotia, one of the highest legal offices in the kingdom. The family controlled lordships at Petty, Avoch, and Boharm, with castles commanding the Moray Firth and Banffshire. His uncle Sir William Moray held Bothwell Castle in Lanarkshire, giving the family reach across both northern and southern Scotland.
Yes. His mother was a daughter of John Comyn I of Badenoch, though her personal name has been lost to history. His stepmother, Euphemia Comyn, was the sister of John Comyn, Lord of Badenoch. These connections linked Moray directly to the Balliol-Comyn political faction and gave his rebellion legitimacy as a rising in the name of the deposed King John Balliol.
Yes, one son, born after his death. Andrew Moray's widow gave birth to a boy on May 25th, 1298, roughly eight months after Stirling Bridge. The child, also named Andrew, inherited the combined Murray lordships and grew up to become a major figure in the Second Scottish War of Independence. He served twice as Guardian of Scotland, in 1332 and again from 1335 until his death in 1338.
Sir Andrew Moray of Petty was captured alongside his son at the Battle of Dunbar in April 1296. While the younger Moray was sent to Chester Castle, his father was imprisoned in the Tower of London. Edward I offered to release the father if the son would come to London as a replacement hostage, but Andrew refused. Sir Andrew Moray of Petty died in English captivity in April 1298, never learning of the victory his son had won at Stirling Bridge or the grandson born the following month.
Moray launched the first coordinated military uprising against English occupation in 1297, weeks before Wallace's most famous actions. His northern campaign liberated Scotland above the Tay and demonstrated that Edward I's garrisons could be defeated through guerrilla tactics. At Stirling Bridge, his tactical mind produced the greatest Scottish victory of the war. His death removed the one figure who combined noble authority with military genius, leaving Wallace politically isolated and the Scottish leadership fatally divided. Modern historians increasingly recognize him as Wallace's equal or even his superior as a military strategist.